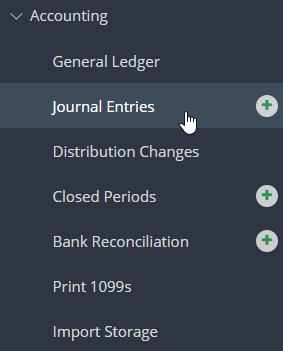
Step 1: On the left navigation, under Accounting, click JOURNAL ENTRIES.
Step 2: Click CREATE JOURNAL ENTRY.
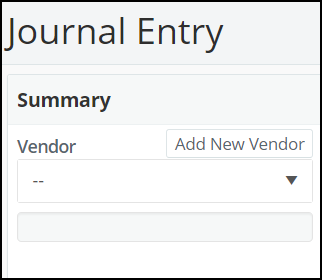
Step 3: Select the vendor and complete the required fields.

Note: the vendor field is optional, but you may associate an existing vendor to the journal entry, or Add New Vendor.
Step 4: In the Details field, select an account code. The Description will auto-populate from the information entered above.
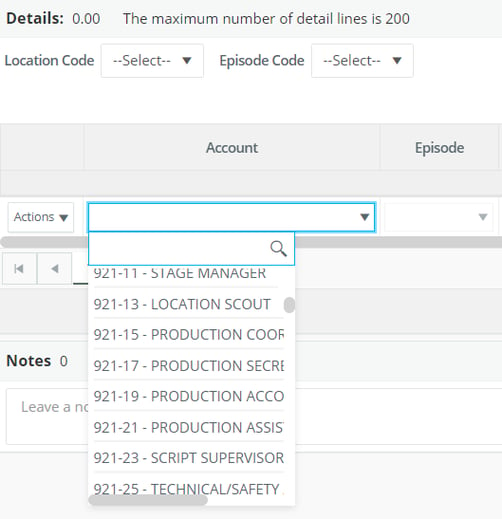
Note: Additional accounting codes may also be chosen at this time. The available codes vary, depending on how you manage code types.
Step 5: Enter the amount.

Step 6: Balance the journal entry by clicking Add Item, then complete the details and add the amount to the offset line(s).
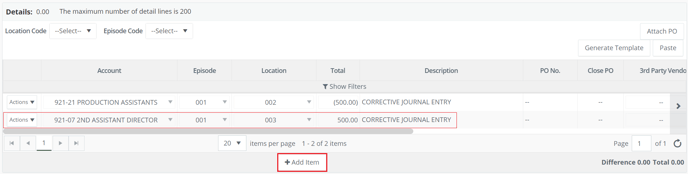
Note: You may add multiple detail lines, but your difference must be zero.
Tip: Attach PO's or use our copy/paste template to work more efficiently. Transactions imported from Import Storage may also be used in JE's. Available transactions will appear once the applicable vendor is selected. Learn more about Import Storage here.
Step 7: Add notes or files, if necessary.

Step 8: Click SUBMIT.

Note: You also have the option to save a draft, or add rush approval status.