How to: Enter a Check Request
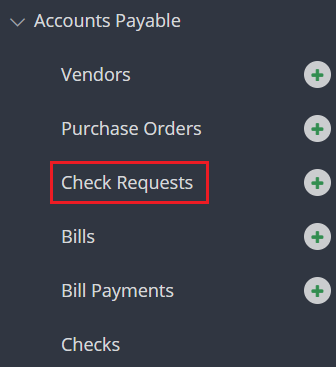
Step 1: From the left navigation, under Accounts Payable, click CHECK REQUESTS.
Step 2: Click CREATE CHECK REQUEST.

Step 3: Select the vendor from the dropdown menu or Add New Vendor.
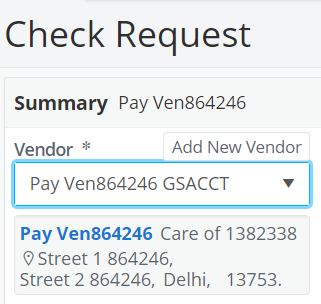
Note: If you click Add New Vendor, in the window that appears, complete the required fields and click SUBMIT.
Step 4: If there are existing purchase orders for this vendor, select the purchase order(s) you would like to associate to the check request, and click ADD.
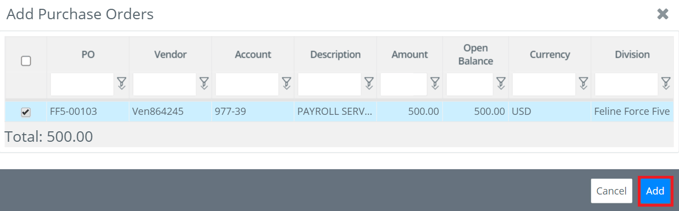
Click CANCEL if you choose not to use a PO for this check request.
Note: You may always click ATTACH PO In the Details area and available PO's for the vendor will appear.
Step 5: Complete all required fields in the Summary area.

Step 6: Under Details, first add an account code, then add any additional accounting codes that your project may use. To learn about managing codes, click here.
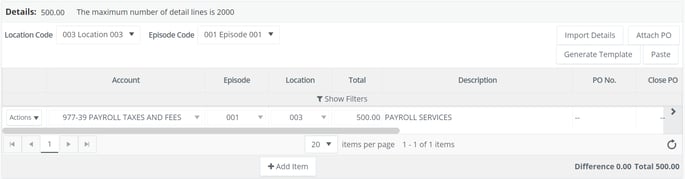
Note: The Total and Description will auto-populate from the selected PO, or the information entered in the Summary area.
Step 7: To add additional detail lines, click ADD ITEM and complete the necessary details of the new line.
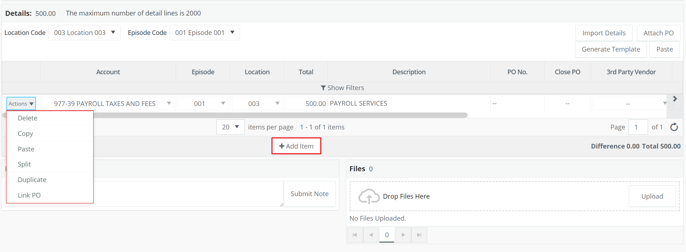
Note: You may also click Actions on the existing line and Copy, Split, Duplicate, or Link PO. If you copy the existing detail line and paste the data to a newly added detail line, you'll be able to edit any details or amounts of that line, if necessary.
Tip: Click IMPORT DETAILS to choose from manually imported transactions associated with the selected vendor. To learn about manually importing transactions with Import Storage, click here.
Our entry window templates may also be used to paste in detail lines. Learn more here.
Step 6: If necessary, add Notes and Files.

Note: The Files area may be used for invoices or other attachments.
Step 7: To submit the check request, click SUBMIT.

NOTE: You have the option to click SAVE DRAFT and submit at a later date.