Chart of Accounts (COA)
Many studios have standardized Chart of Accounts for projects to use. This may be different from the production companies existing account setup. Production companies have two options:
1. They can use the Studio’s COA only, or
2. They can use their own COA and map to the Studio’s COA
Mapping to the Discovery Channel Chart of Accounts:
Step 1: Log into app.gslate.com and select the project to be mapped from the project drop down menu.
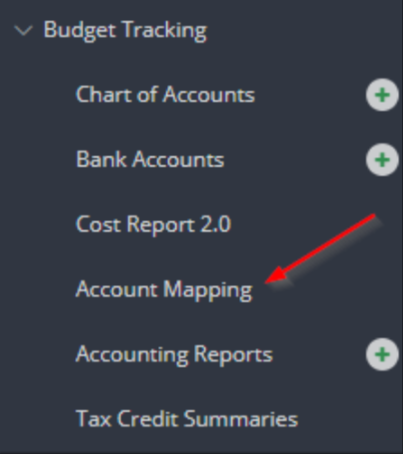
Step 2: Under the Integrations section in the left navigation, click ACCOUNT MAPPING. NOTE: If you do not see this option contact support and they will enable this feature for you.

The following window will open:
 Step 3: Click CREATE NEW MAP.

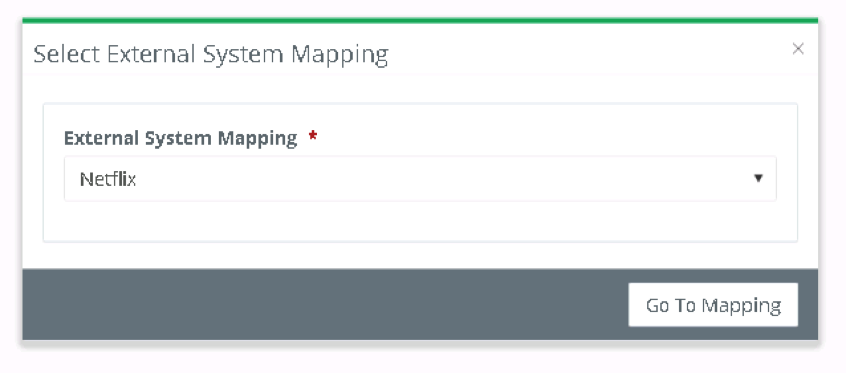
The following pop-up will open:

Step 4: From the External System Mapping drop down menu, select the latest version of COA for the studio you would like to map to. NOTE: This is indicated by the version number.
Step 5: Click GO TO MAPPING.
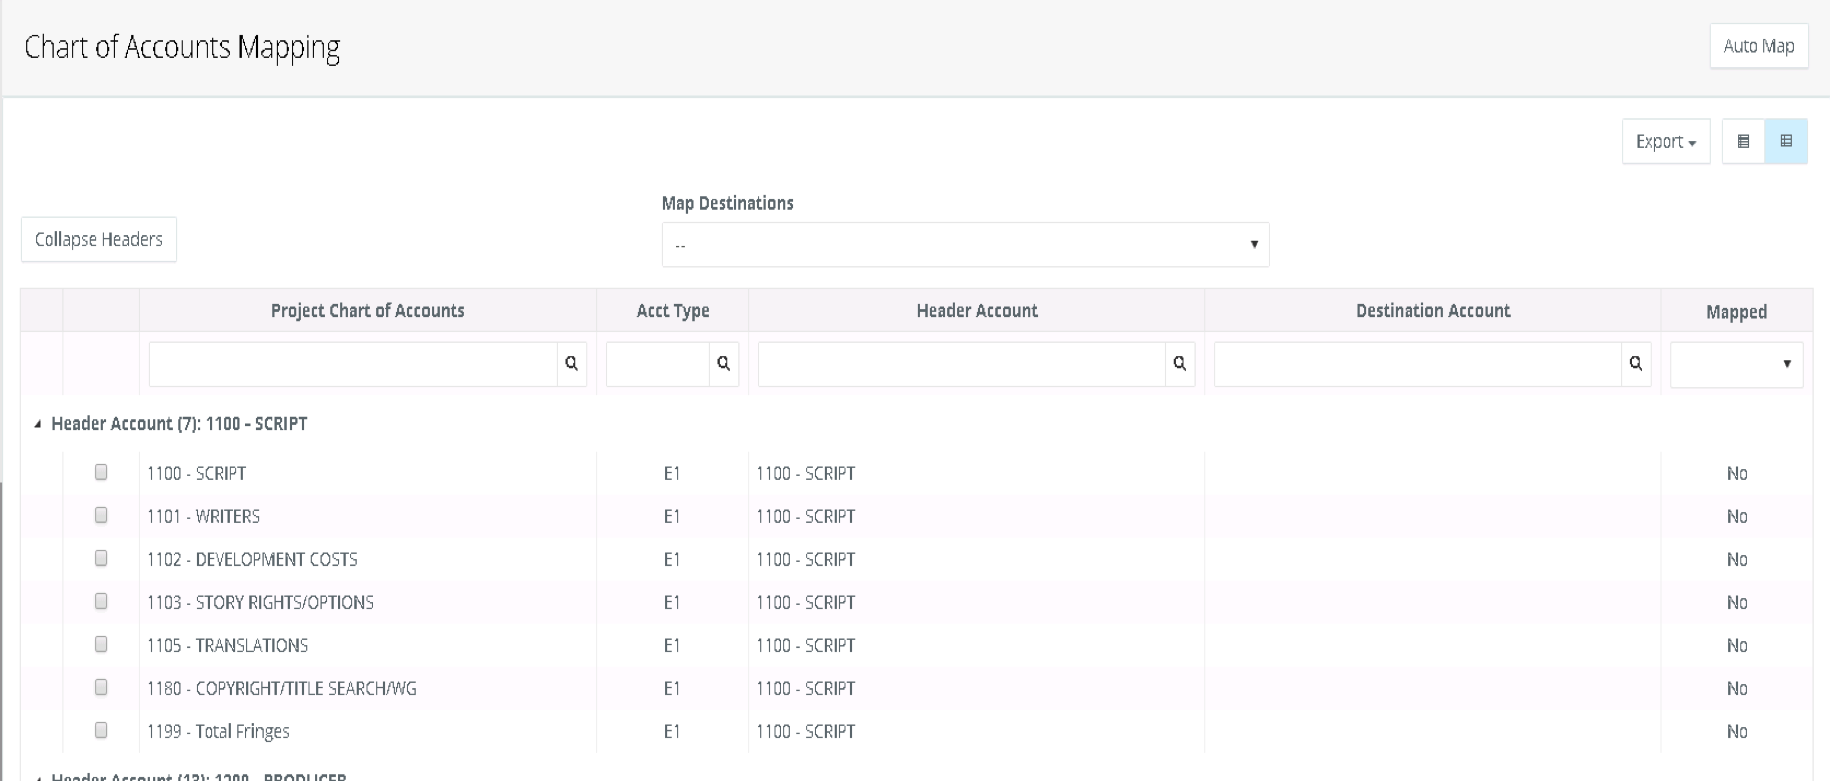
The Chart of Accounts Mapping Grids will open. See below as an example:

Step 6: At this point you have the option to:
a. AutoMap: The “AutoMap” button will map a one-to-one mapping where the Project COA and the STUDIO's COA account number are exactly the same. This can save time where there is this one-to one relationship.
b. Manually Map: Manually mapping allows you to map each account or group of accounts individually.
c. Combination of AutoMap/Manual Mapping: You can “AutoMap” to map where accounts align in a one-to-one relationship and then manually map those that do not.
To AutoMap:
Step 1: Click AUTOMAP.
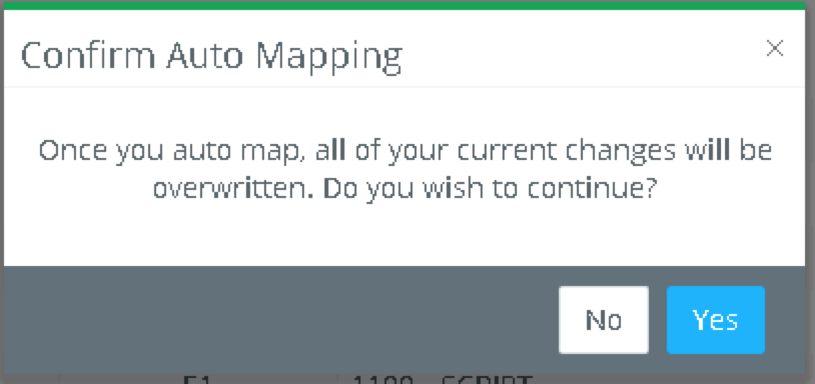
The following window will open:

IMPORTANT: If accounts have already been mapped, you will lose all mapping if you click “Yes”.
Step 2: Click YES and the system will automatically map matching accounts.
Step 3: manually map the remaining accounts
To Manually Map (Tips and Tricks to simplify manual mapping!):
Step 1: Click the COLLAPSE HEADER BUTTON to display only the header accounts.
Step 2: Click the triangle to the left of any given header to expand that set of accounts.
Step 3: Check multiple Project Chart of Accounts of the same type and choose a single STUDIO's COA destination account.
NOTE: You cannot map different account types, they must be the same in both the Project Chart of Accounts and the
STUDIO's COA
Step 4: Filter by “Mapped” to see what accounts remain to be mapped.
Note: Until you “Lock” the COA you can make changes and additions to the mapping.
Tip: The following accounting reports can be generated for a mapped COA:
Cost reports
- Cost Report Rounded Decimals (mapped CoA)
- Cost Report with Net Total (mapped CoA)
- Top Sheet Cost Report (mapped CoA)
General ledger reports
- GL BIBLE (mapped CoA)
Trial Balance reports
- Detail Trial Balance (mapped CoA)
- Trial Balance (mapped CoA)

