As a Paramount accountant, it is important to understand the technical accounting procedures in order to have a seamless integration experience. This article covers topics related to setting up Vendors for CashetPay to help you be successful.
Submit New AP Vendor
Approve New AP Vendor
Generate New Vendor(s) Added Report
Submit New AP Vendor:
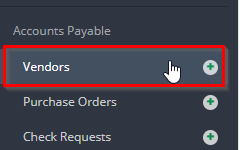
1. On the Left Navigation Pane, go to Accounts Payable > Vendors.
2. Click Create Vendor.

3. Enter the Company or (Last Name) and First Name (if applicable). (The Payee Name will auto-populate once the previous fields filled out.) Then, enter a Vendor Code (maximum of 8 characters). 
Tip: you can select the box next to Auto Generate so the system auto assigns a vendor code once you submit the vendor.
4. Upload the Vendor's W-9. You can click the Upload button to browse your computer for your file or drag and drop to upload. 
Once the file is uploaded you will receive a green confirmation at the top as well as the clickable blue link to preview your file. 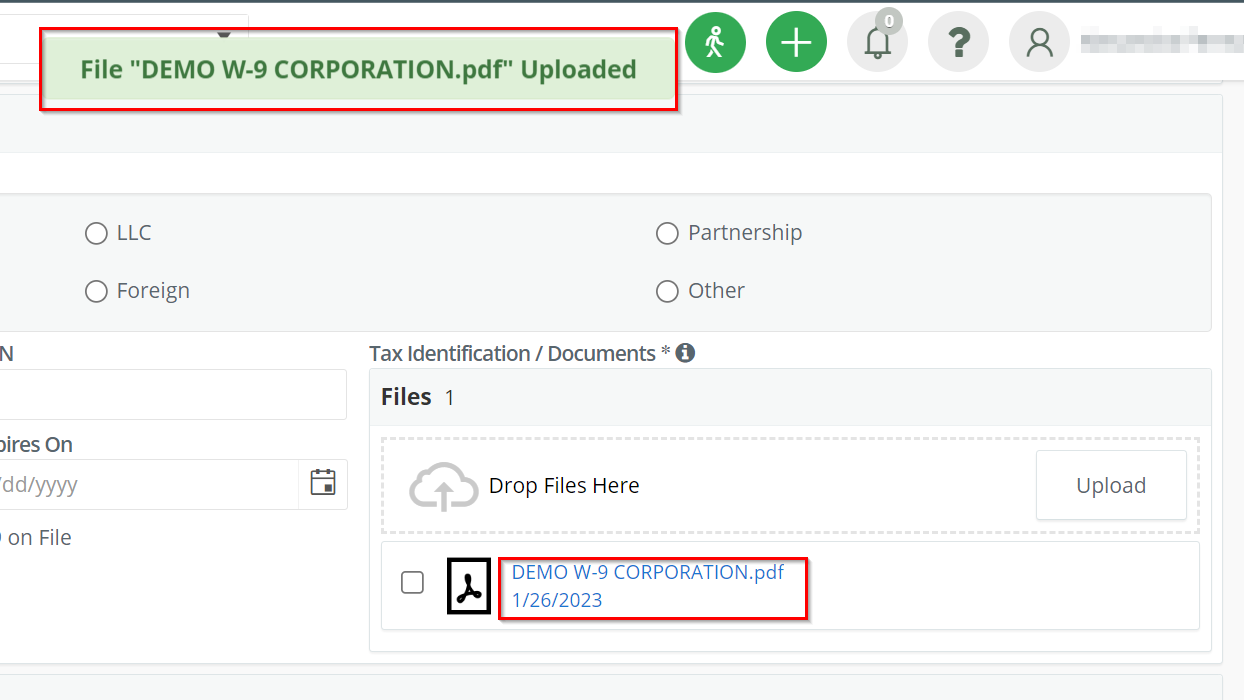
5. Using the W-9 you've uploaded to complete the Tax Information section. 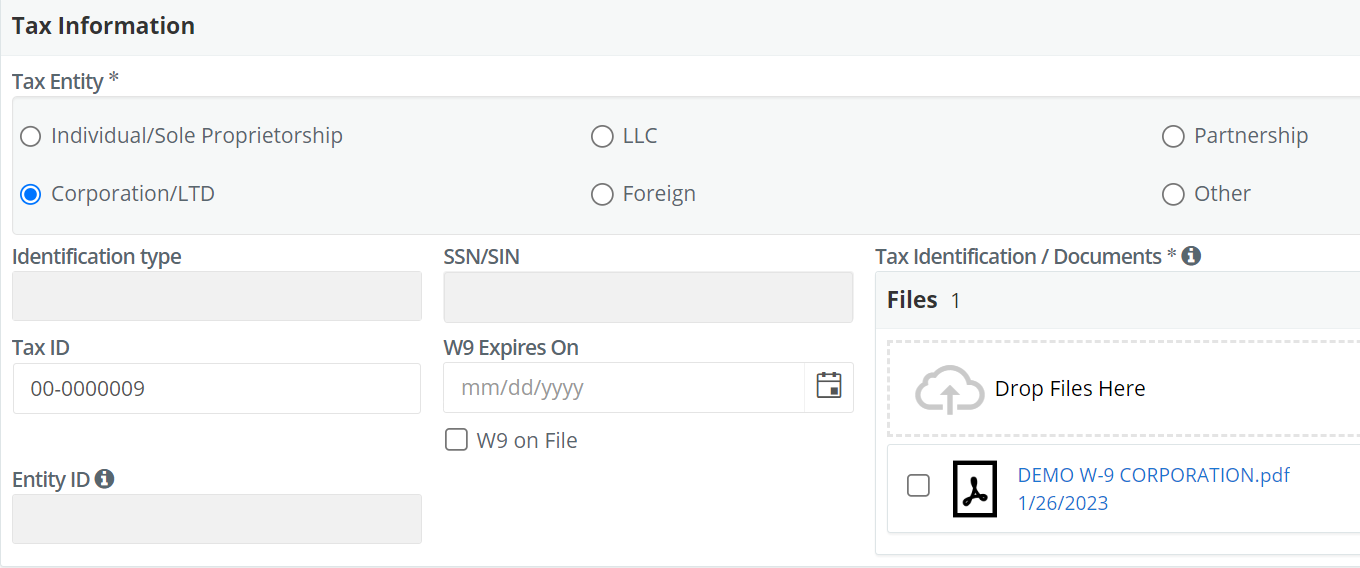
Note: Paramount requires the vendor profile to ALWAYS have an SSN, Tax ID or Entity ID as well as the vendor's W-9.
6. Enter the vendor's Contact information and Mailing Address.

7. Click Submit on the lower right hand side of the screen. 
Approve New AP Vendor:
1. On the Left Navigation Pane, go to Accounts Payable > Vendors.

2. Click on the Awaiting My Approval tab.
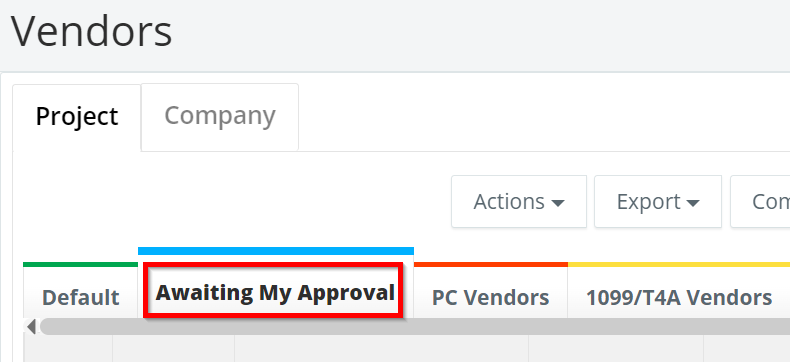
3. Click on the Review button. 
4. Review vendor profile (i.e. Name/Tax Information/Contact/Mailing Address) for accuracy.
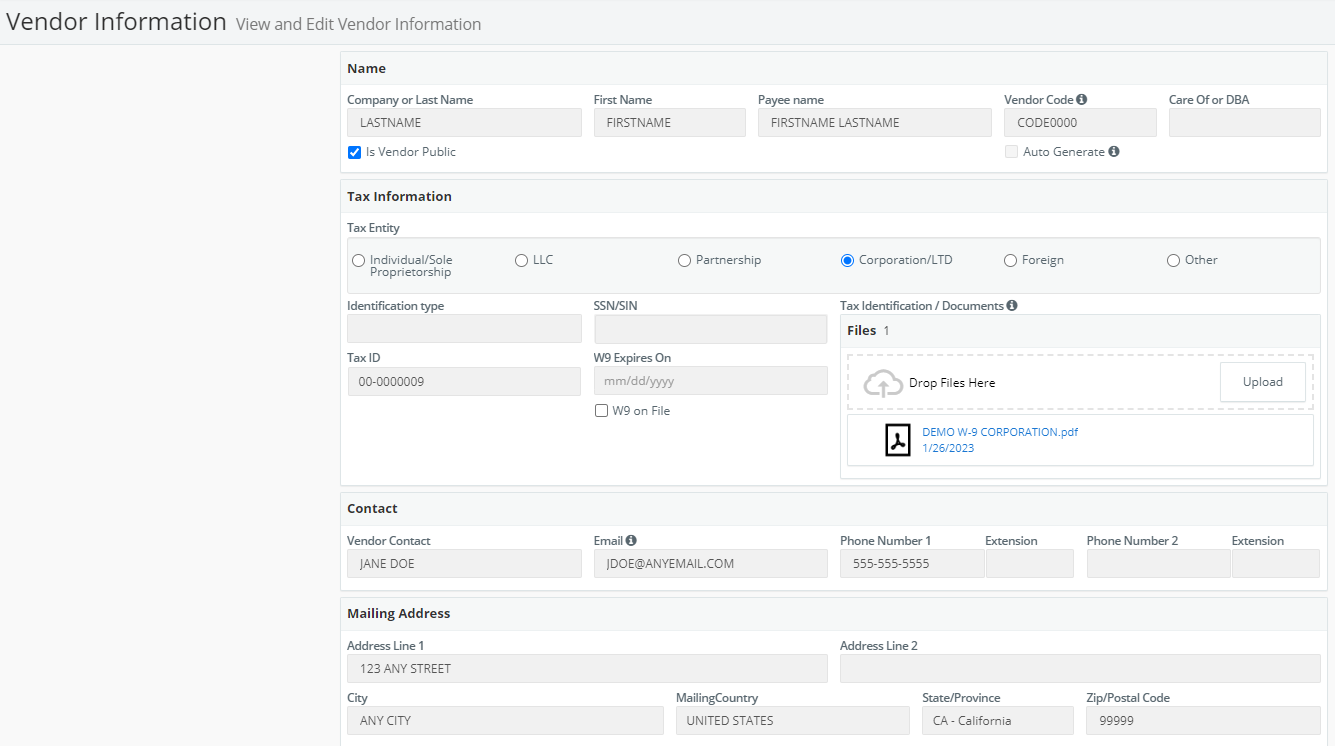
5. Click the Edit button on the lower right side of the screen and populate the Studio Vendor Code. You may also make changes/corrections to the vendor profile fields in step 4.

Note: Paramount requires the vendor profile to ALWAYS have a Studio Vendor Code.
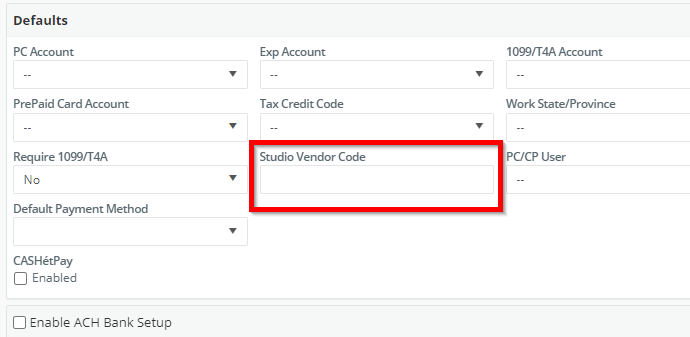
Tip: you can assign a Default Payment Method to a vendor that will auto-populate will creating Bill Payments.
6. (Optional) To enable CASHétPay payments for a vendor, select Generate Payment File in the Default Payment Method drop down menu and check the Enabled box under CASHétPay.
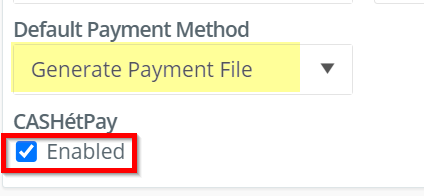
7. Once you have finished reviewing, adding the Studio Vendor Code and/or enabling CASHétPay, click Approve.

Generate New Vendor(s) Added Report:
Once you have added new vendor(s) and they have completed the approval flow, you are able to run a "New Vendor(s) Added Report."
1. On the Left Navigation Pane go to Budgeting Tracking > Accounting Reports. 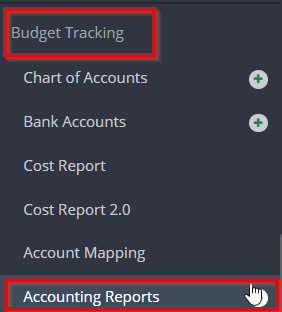
2. Click Run Report on the upper right-hand corner of the page. 
3. In the Category drop down, select Vendor Reports. Then in the Report Type drop down, select Detail Report - Name Sort (Vendors Only) - Mailing Address report.

Tip: You can type the name of the report you are looking for in the search bar of the drop down to find it.
The File Name of the report can also be customized as needed.

3. In the Vendor filter, type in the new vendor(s) Last Name (or Company Name). Then
click the vendor's name you wish to add. Repeat for any vendors you would like to include in the report. 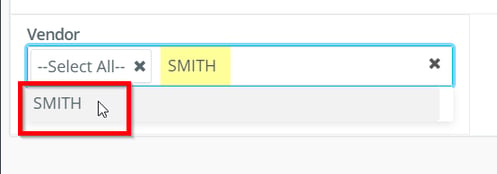
4. Click on the 'x' next to --Select All-- to remove all other pre-existing vendors from the report.

Tip: here is what your filter should look like if you are selecting one vendor.

5. Click the blue button that says Queue Report on the lower right-hand corner. 
6. Once you see the green confirmation at the top appear that says Report is queued in the Reports monitor you have two options:

a. click the Back button on the lower right-hand corner.

b. click the View Reports Monitor on the upper right-hand corner.
7. Once you are back in the Accounting Reports grid, you may click the PDF link to preview the New Vendor(s) Report.
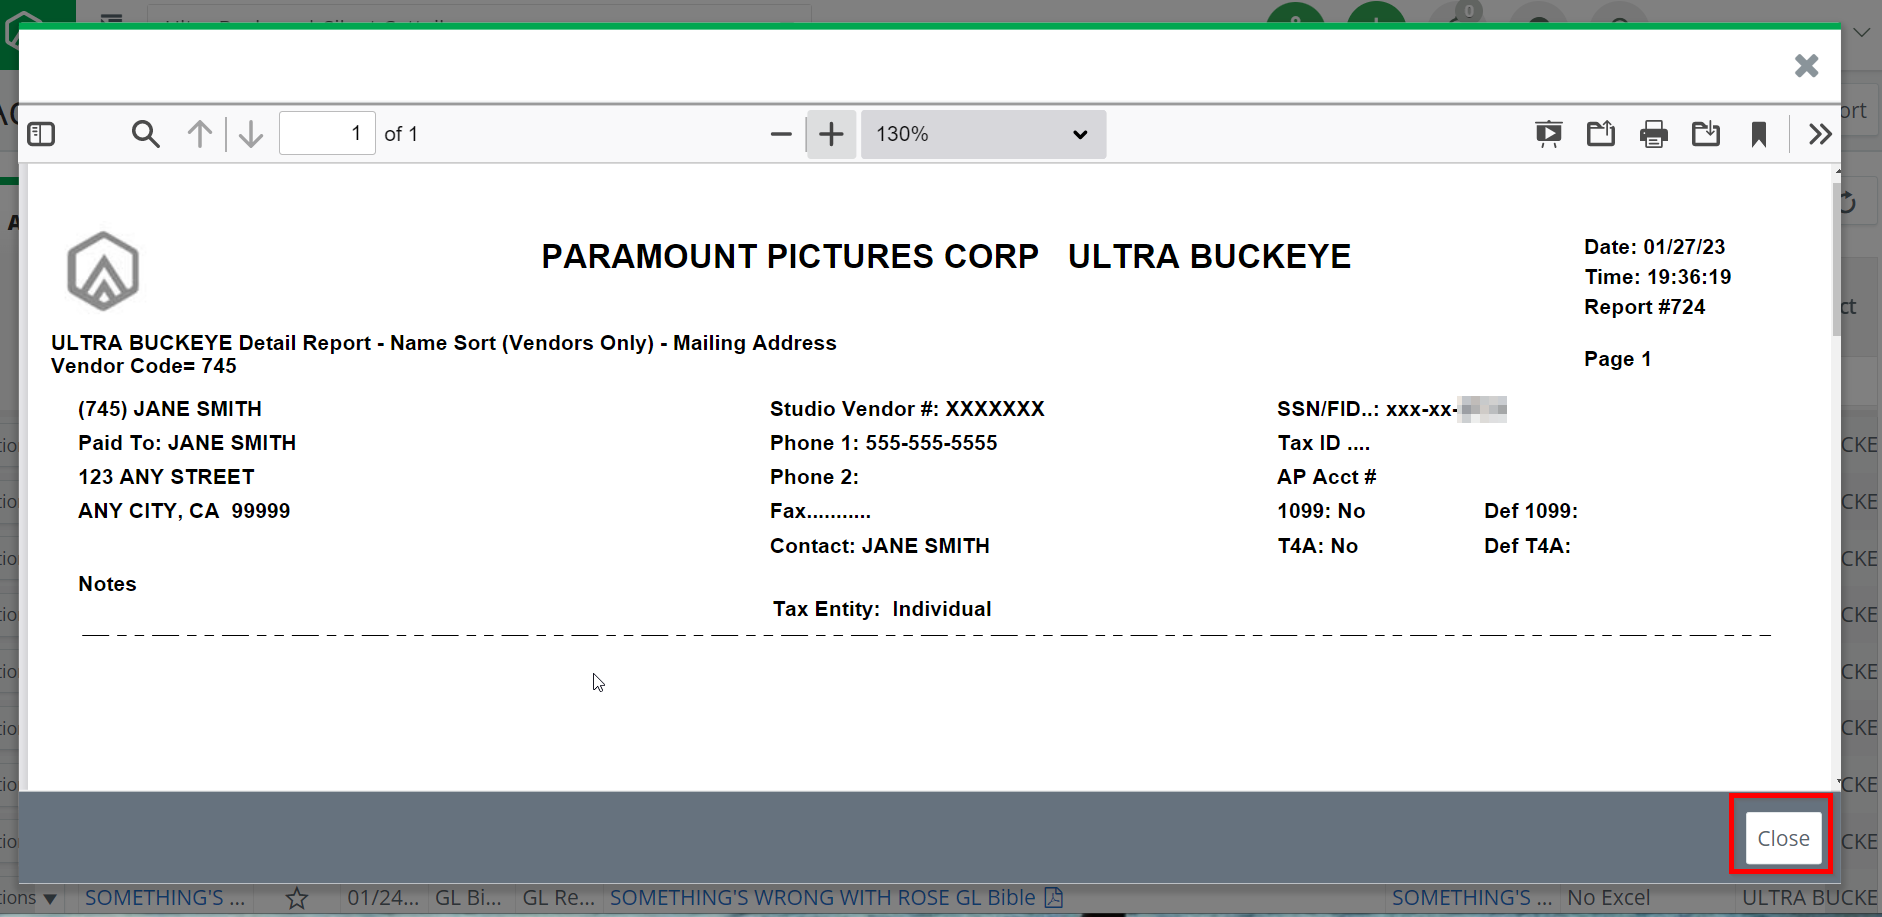
8. Select the printer icon or the folder icon to print or download the report. Then click Close on the lower right-hand corner of the preview. 