How To: Rush Approvals:
Step 1: When creating a transaction, click the checkbox to enable rush approve.

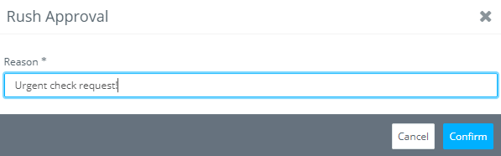
Step 2: Add the reason for rush approval, the click CONFIRM.
Note: your document now displays a banner at the top of the screen, as well as “Rush approve” now “ON” next to actions within the transaction.
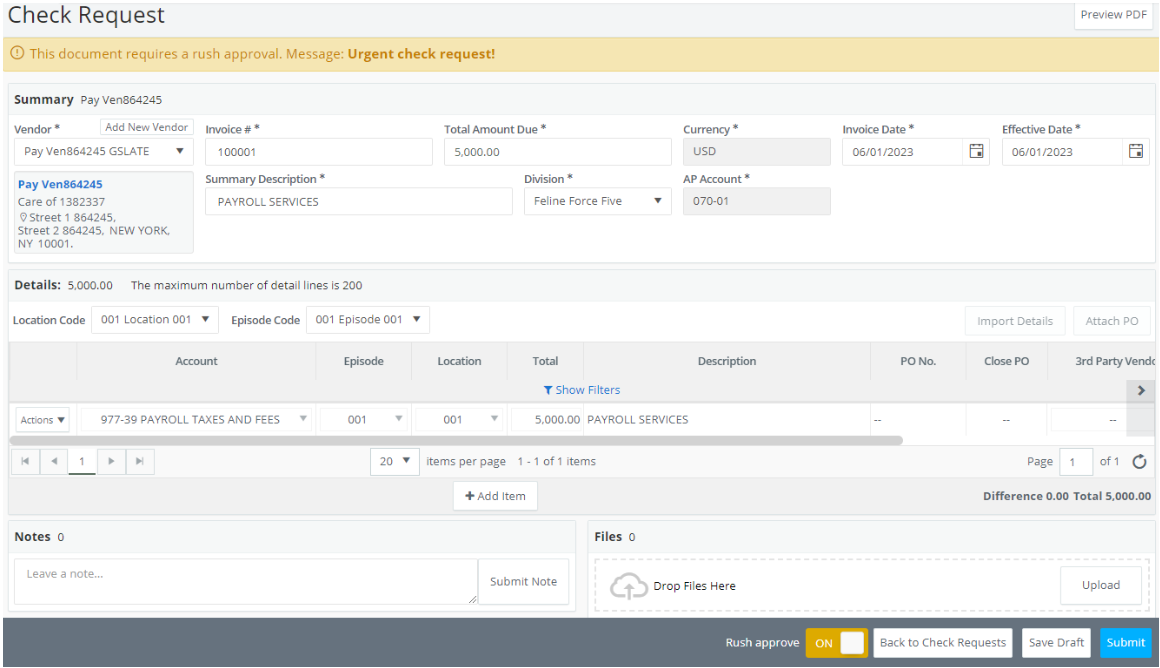
Step 3: Once you are ready, click SUBMIT.
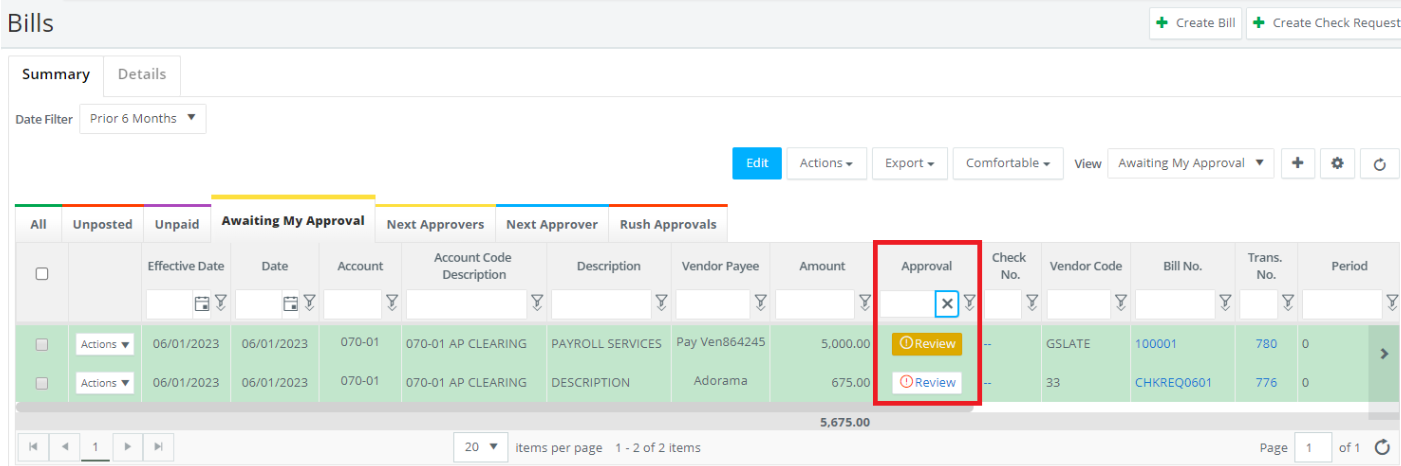
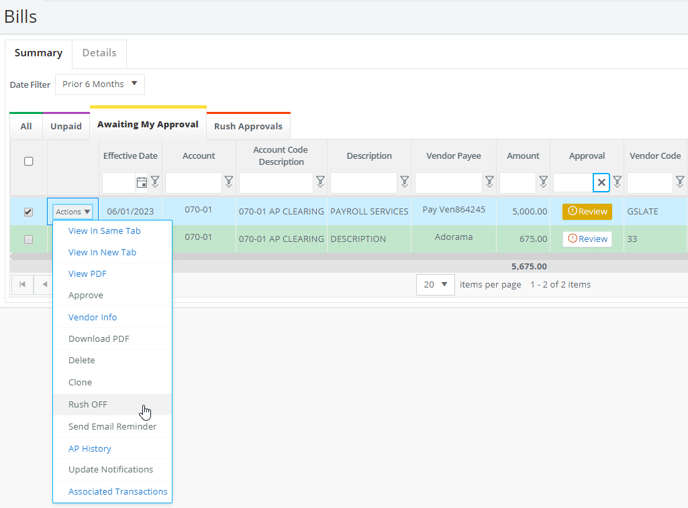
Note: After submitting, you’re redirected back to the grid belonging to the type of transaction you have submitted. Notice in the screenshot below, we see the difference between rushed and normal items awaiting approval. The rushed item is highlighted in gold.
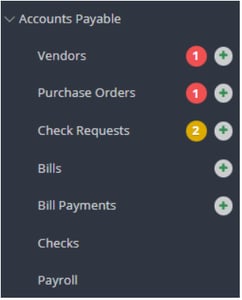
Additionally, we can see gold notifications from our left navigation.
Document owners and admins have the option to toggle rush status from the feature’s grid
Note: Currently, rushed items will follow the same approval flows as non-rushed items.